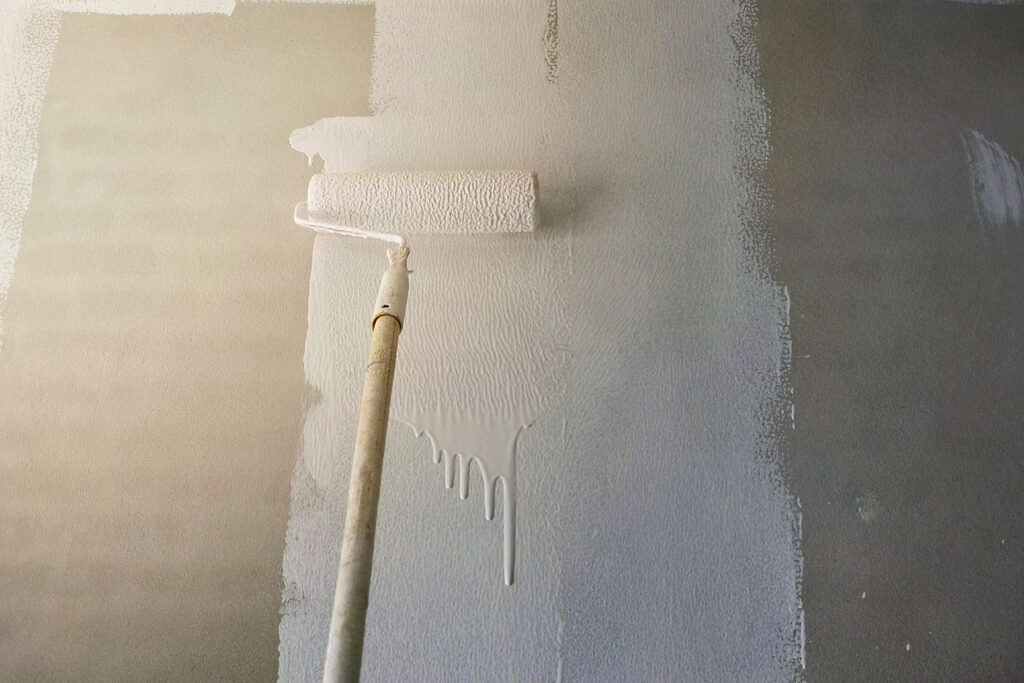
As you embark on the journey to refresh your interior spaces with a new coat of paint, you might wonder about the preparatory step that often goes unnoticed but is pivotal to the outcome: priming. Priming interior walls before painting is akin to laying a strong foundation before building a house. It can affect the durability of the finish, the vibrancy of the colour, and the overall quality of your paint job. To help you achieve painting perfection, let’s dive into the scenarios where priming is a critical step you shouldn’t skip.
New Drywall Beckons for Primer
If you have new drywall installed, it’s like having a blank canvas; it needs a layer of primer. Drywall is porous and will absorb the paint unevenly if it’s not sealed with primer first. This can result in a patchy finish. A drywall primer-sealer will ensure a uniform surface and will also help in reducing the number of paint coats necessary for complete coverage.
Covering the Past
Thinking of drastically changing your wall colour? Priming becomes your ally. Painting over a darker colour with a lighter one can be challenging and may require multiple coats of paint. A high-hide primer will mask the darker shade and give you a neutral base for your new colour to shine without working overtime with multiple paint coats to cover the old hue.
Stains and Odors: The Unwelcome Guests
Homes with a history of smoking or cooking may have walls with odors or stained by nicotine or grease. These can bleed through paint, ruining your pristine paint job. An oil-based or shellac primer will seal the walls, lock in odors, and prevent stains from resurfacing.
Slick Surfaces Need a Helping Hand
Some surfaces like glossy finishes or certain types of paneling are non-porous and too slick for paint to adhere properly. In these cases, a bonding primer is essential. It creates a surface that the paint can grip onto, ensuring that your new paint won’t peel or chip prematurely.

Repair and Patchwork Presence
When walls have been filled or patched up, those spots can absorb the paint differently than the rest of the wall, leading to an uneven finish. A quality primer over these areas will ensure there’s no difference in texture or sheen once painted.
An Advantage with Advanced Finishes
If you’re planning to use paint with special finishes or textures, priming is recommended to ensure the finish appears as intended. Primer provides a controlled surface so that specialty paints can show their full effect.
Humidity Can’t Hide
In areas with high moisture, such as bathrooms or basements, you need a mold-resistant primer. These primers are designed to cope with humidity and will help prevent mold and mildew from growing beneath your beautiful new paint.
When is priming not necessary? If you’re repainting a wall with a similar colour and the current paint is in good condition, you might be able to skip the priming step. Always spot-test first to be sure.
In conclusion, priming is often a crucial step to ensuring a professional-looking paint job. It can save you time, money, and heartache in the long run by providing a consistent base that enhances the finish and longevity of your paint. So before you pop open that paint can, consider the state of your walls—and remember, priming might just be the secret ingredient for your project’s success.
Sincerely,
Van Isle Paint
Victoria, BC, and Beyond
(250) 412-3885
For further insights and informative content from Van Isle Paint, please visit our blog: https://vanislepaint.com/blog/


