Of all the at home DIY projects, painting a room is one of the most accessible. Whether you’re in need of a same-colour refresh or want to completely overhaul your aesthetic, interior house painting is fully within your reach. It’s a budget-friendly way to make your home feel brand new.
Painting a room is easier than you think. As long as you have the right tools. Luckily, you can find them online or at most hardware stores. Once you have all the supplies, you can get started painting. This is a process-oriented activity that has a number of steps you’ll want to follow in order. So, if you enjoy this type of work and the satisfaction of cleaning, this DIY project is for you.
Supplies you’ll Need
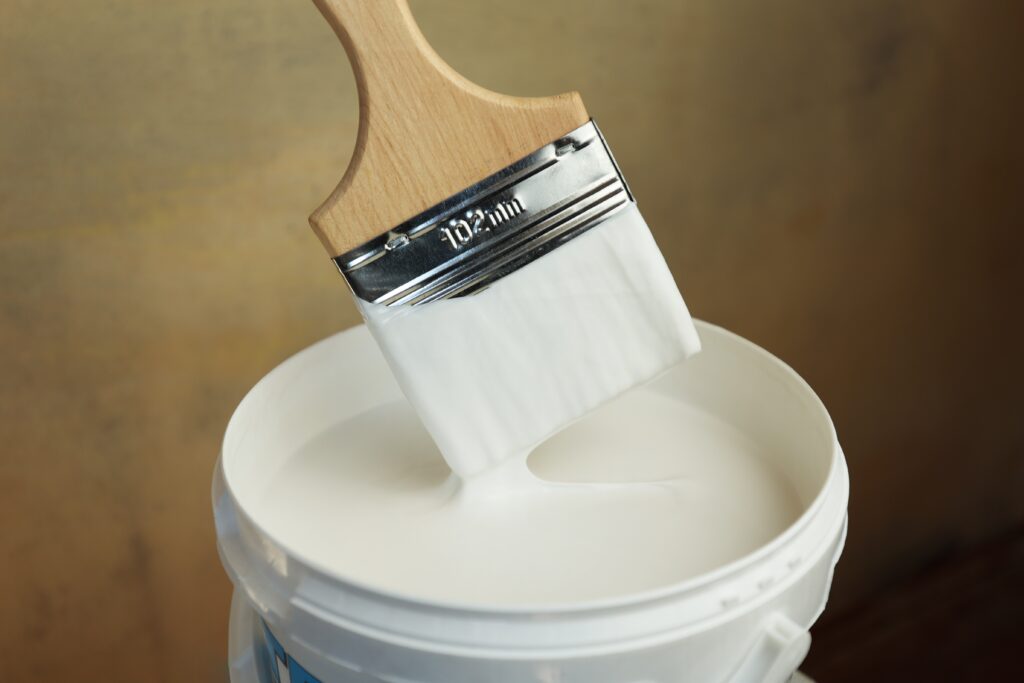
Brushes, along with a roller, are a couple of the most important tools you’re going to need. These can be used for cutting in and hand painting along the edge of baseboards.
A couple of brushes of varying sizes are handy, and an angled-bristle brush will help you cut with ease. A good quality brush will last for decades as long as you take care of it.
Ensure you have a paint tray. It doesn’t need to be fancy, it just needs to be sturdy enough to hold paint and allow space for the roller. Another important thing to have is a drop cloth. You definitely don’t want to make a mess of the your furniture and floors, so make sure to cover those up before applying paint to the walls!

Basic Steps for DIY Painting
No matter what colour or surface you’re painting, the process for doing so is likely the same. Taping and cutting in will take the most time, so if you want to break up the painting into multiple sessions, a good place to stop is after cutting in. You can roll the paint on later to finish the job.
Step 1: Prep
Get your room ready for painting. Move all the furniture to the middle of the room and cover it, or move it out of the space altogether. Then, using a screwdriver, remove the outlet covers and any other wall plates. Patch holes where needed and clean any dirty surfaces off the wall. Grab your painter’s tape and tape off all the baseboards, around the outlet covers, the ceiling, and anything else you want to protect from paint. After taping, pour some of the paint into your tray.
Step 2: Use your Brush to Cut in
Cutting in refers to hand-painting areas that a roller brush can’t adequately reach. This step is very time-consuming, especially compared to a roller brush. But it’s worth the time and effort at this stage.
Step 3: Roll
You’ve finished cutting in and now you’re ready to roll. Once your roller appears well-saturated but not dripping with paint, roll it on the wall, starting from the top and working in straight lines down the wall. Go over the spot a couple of times.
Sincerely,
Van Isle Paint
Victoria, BC, and Beyond
(250) 412-3885
For further insights and informative content from Van Isle Paint, please visit our blog here: https://vanislepaint.com/blog/


