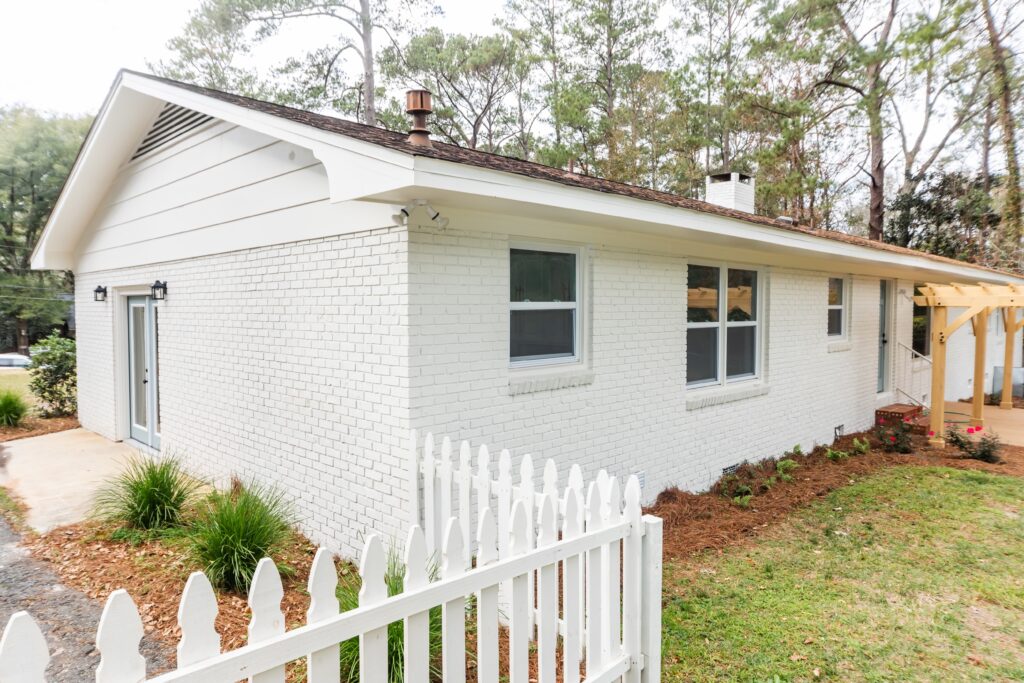
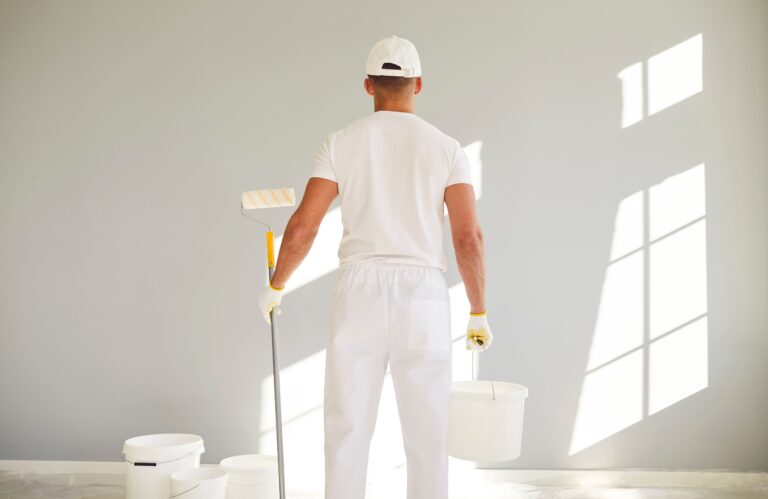
There’s nothing like a fresh coat of paint to breathe new life into your home’s exterior. If your home is built with brick, you might feel limited with your colour options or bogged down by the dated look of the brick. Fortunately, painting exterior brick surfaces can completely change your home’s aesthetic, giving it a fresh, modern appearance. Here’s a step-by-step guide from Van Isle Paint to help you through the process.
Why Paint Brick?
Painting brick offers several advantages. Firstly, it can vastly improve curb appeal. A beautifully painted brick house stands out and can increase property value. Secondly, paint acts as an additional layer of protection, preserving the brick and mortar from the elements. Lastly, if your bricks are aged or mismatched, paint can provide a uniform look.
Step-by-Step Guide
1. Prepare the Surface
Cleaning is paramount. Use a stiff-bristled brush and soapy water to scrub off dirt, grime, and any peeling paint. A pressure washer can also be effective, but be cautious not to damage the bricks. Let the bricks dry completely, which may take a few days.
Next, inspect the bricks for any damages. Repair cracks or broken bricks using acrylic caulk or mortar. Ensure repairs are dry before moving on.
2. Choose the Right Paint & Tools
Use high-quality masonry paint that is designed for brick surfaces—these paints are formulated to adhere properly to bricks and withstand outdoor conditions. Brushes with stiff bristles, rollers, and painter’s tape are essential tools.
For the paint itself, choosing the right colour is crucial. Light, neutral colours can give a classic look, while bold shades can make a striking, modern statement.
3. Prime the Surface
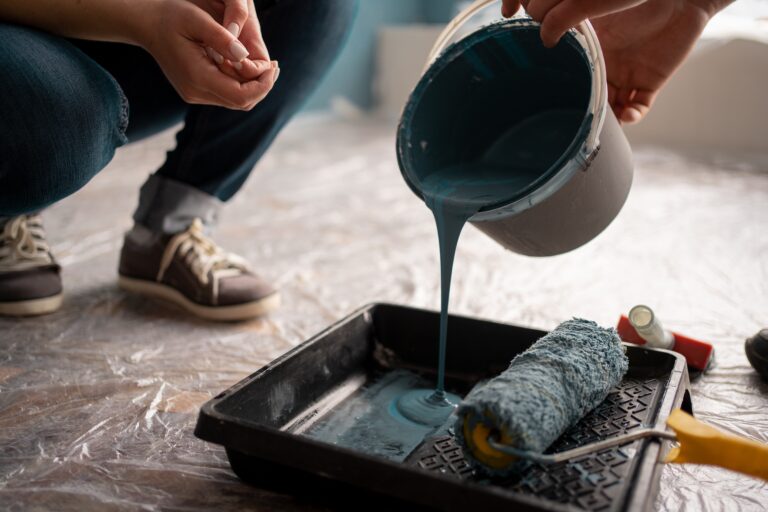
Applying a coat of primer is essential for long-lasting paint. Use a latex masonry primer and ensure it’s suitable for exterior use. The primer helps the paint adhere better and provides a uniform base. Apply the primer with a roller and use a brush to get into the mortar lines. Allow it to dry fully, as per the manufacturer’s instructions.

4. Apply the Paint
Once the primer is dry, it’s time for the main event. Apply the first coat of masonry paint using a roller for even coverage. Start by painting the mortar lines with a brush. Once the mortar lines are painted, use the roller on the brick surfaces. This method ensures every brick and crevice is evenly coated.
After the first coat has dried (usually 24 hours), inspect the surface. Apply a second coat to ensure durability and rich colour. Remember to follow the drying time guidelines.
5. Finishing Touches
After the second coat is dry, remove any painter’s tape carefully to avoid peeling off any paint. Inspect the entire painted surface for any missed spots or touch-ups.
Maintenance Tips
To maintain your painted brick, clean the surface annually with mild soap and water. Check for any signs of chipping or peeling, and touch up the areas as needed. Proper maintenance can keep the exterior looking fresh and vibrant for years.
Conclusion
Painting your exterior brick surface can be a rewarding home improvement project. With the right preparation, tools, and techniques, you can achieve a stunning transformation. Whether you aim for a classic look or a bold statement, a fresh coat of paint can do wonders. For all your painting needs, Van Isle Paint offers a wide range of high-quality products and expert advice to help you every step of the way. Happy painting!
Sincerely,
Van Isle Paint
Victoria, BC, and Beyond
(250) 412-3885
For further insights and informative content from Van Isle Paint, please visit our blog: https://vanislepaint.com/blog/


