When it comes to enhancing the beauty and longevity of your exterior wood, staining is an essential step. Not only does it protect the wood from the elements, but it also adds a rich, natural look that paints often can’t achieve. At Van Isle Paint, we believe in doing things right, so here’s our comprehensive guide to staining exterior wood.
Preparation is Key
Before you start, it’s crucial to prepare the wood surface properly. Cleaning the wood is the first step. Use a wood cleaner or a mix of water and mild detergent to remove dirt, mildew, and old stains. Rinse thoroughly and let the wood dry completely before moving on to the next step.
If the wood is rough or weathered, sanding it down will help the stain adhere better and ensure a smoother finish. Starting with a coarser grit and finishing with a finer one can provide the best results. Remember to remove dust produced by sanding.
Choosing the Right Stain
Picking the right stain is vital to achieving the desired look and protection for your wood. There are several types of stains, each serving different purposes:
- Solid Stains: These act like paint, providing a thick, opaque finish that covers the wood completely. They offer maximum protection and are excellent for heavily weathered wood.
- Semi-Transparent Stains: These allow some of the wood grain to show through, offering a balance between protection and natural beauty.
- Transparent Stains/Clear Wood Preservatives: These provide basic protection against UV rays and moisture without altering the wood’s colour.
Applying the Stain
Once your wood is prepped and you’ve chosen your stain, it’s time to apply. Here’s how to do it effectively:
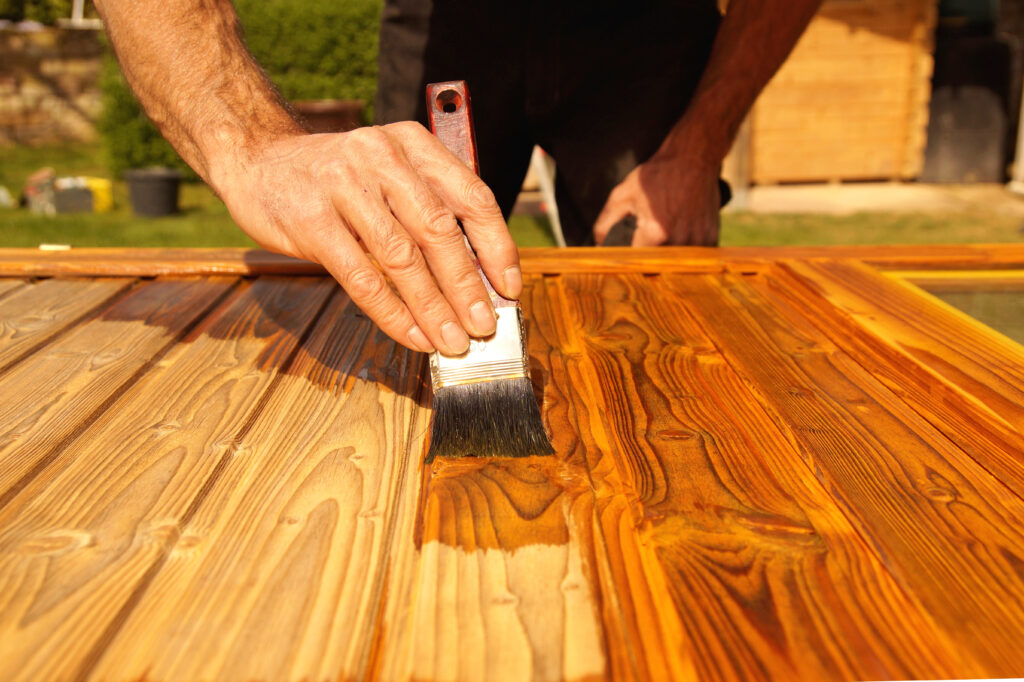
- Tools: Use a high-quality brush, roller, or sprayer. Brushes are excellent for detailed work and edges, while rollers and sprayers can cover larger areas more quickly.
- Technique: Apply the stain in the direction of the wood grain to ensure even coverage. Work in small sections to maintain a wet edge and avoid lap marks. For best results, apply a thin coat first, then a second coat for a deeper colour. Always follow the manufacturer’s instructions.
- Drying: Allow ample drying time between coats. Depending on the stain and weather conditions, this could range from a few hours to overnight. Avoid staining in direct sunlight or very humid conditions, as these can affect drying times and the final finish.

Maintenance & Longevity
Stained wood requires periodic maintenance to keep it looking its best. Here are some tips:
- Annual Inspection: Check for signs of wear and damage at least once a year.
- Cleaning: Regularly clean the wood with a mild detergent to remove dirt and mildew.
- Re-staining: Depending on exposure to the elements, you may need to re-stain every 2-3 years. For areas with minimal exposure, the time can be longer.
Staining exterior wood is a vital step in ensuring that your deck, fence, or any other outdoor structure stands the test of time while looking beautiful. By following these steps, you can achieve professional-quality results that will enhance the appearance and durability of your wood. At Van Isle Paint, we’re here to assist with high-quality staining products and expert advice to help you every step of the way. Happy staining!
Sincerely,
Van Isle Paint
Victoria, BC, and Beyond
(250) 412-3885
For further insights and informative content from Van Isle Paint, please visit our blog: https://vanislepaint.com/blog/


